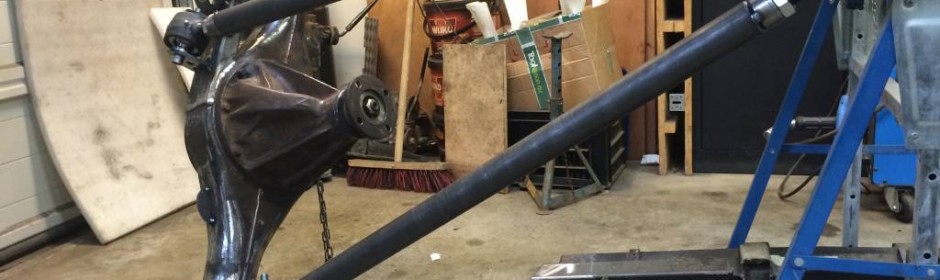
4 Link suspension brackets. Rear axle "Bidge" Cutting the arch with a jigsaw. It fits like a glove. Marking the other part of the "brdige"…
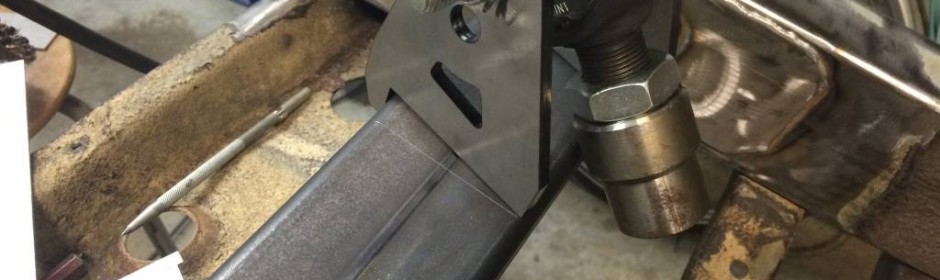
4 link suspension brackets. In this part i'm going to show you how i placed all the brackets for the rear 4 link suspension on…
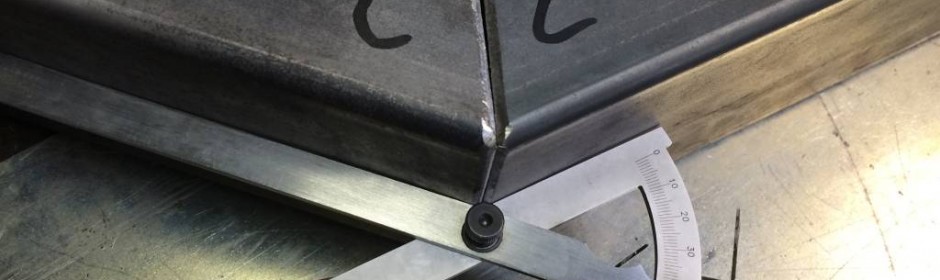
In this part, How i made the frame narrower. The frame needs to get a "Bypass" to make room for the 16" travel Air-shocks.If i…

The Parts Cutting the frame bypass All the box section parts CAD Drawing 3mm parts CAD Drawing 6mm parts Lasercut parts Lasercut parts Lacercut parts…
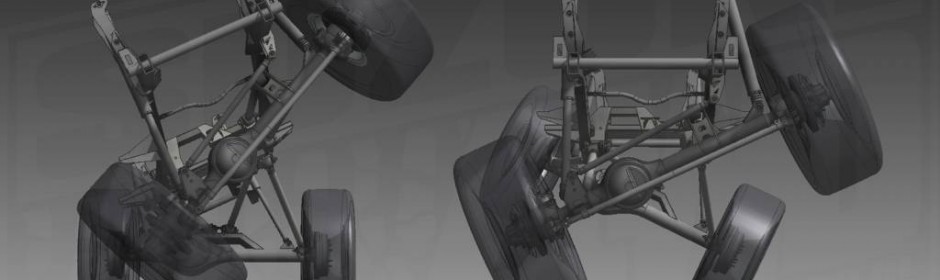
The suspension design The drawing of every suspension part and the chassis is ready. Now it's time to make the actual design with the 4-link…