Rear disc brakes
Why i did this conversion. First of all the drumbrakes are hard to clean,the brakepads wear out pretty fast.and it's always a problem to open the drum brakes.
and since both sides have leaking cylinders i decided to convert the drum brakes to disc brakes,i've done this before on the LWB but i didn't made a report of it.
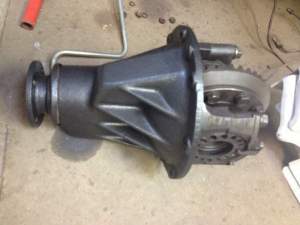
The job took more time then planned because of damage to the spring perches as you will read in this "Tech" report, i also swapped in a SJ413 diff to help the engine to turn the 33" tyre's
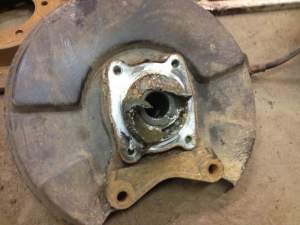
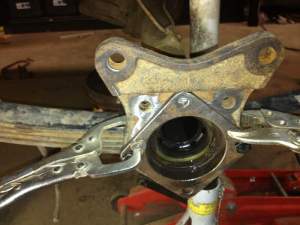
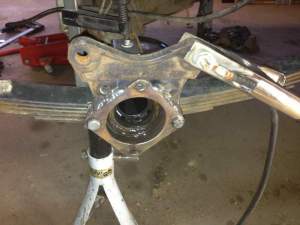
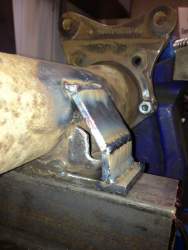
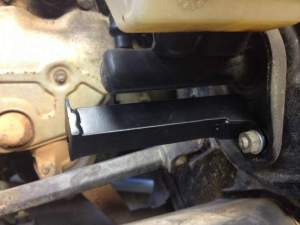
Here you can see the "Caliper holder on the back of the disc protection shield.this is the part you need to weld to the axle.
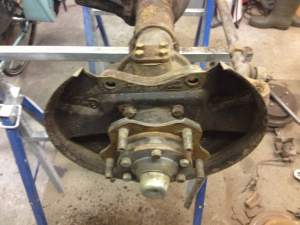
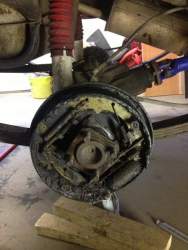
This is why i want to convert to the disc brake setup,i took the drum of and here you can see all the mud and leaking brake fluid.
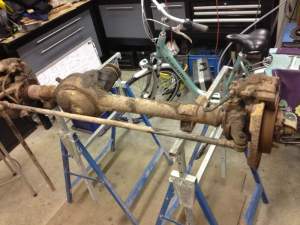
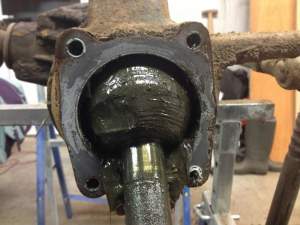
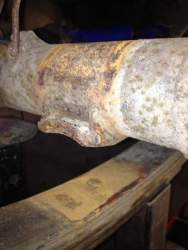
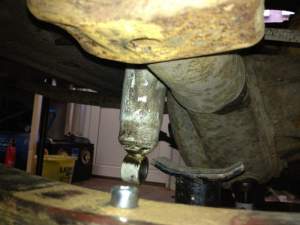
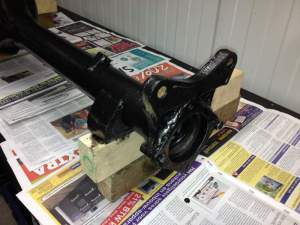
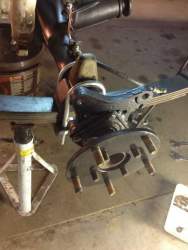
i took the axle shaft out of the axle and removed the backplate which kept the brakepads and brake cylinder in place inside the drum. as you can see the spring perch is not in it's orginal shape due to axle wrap and rust.
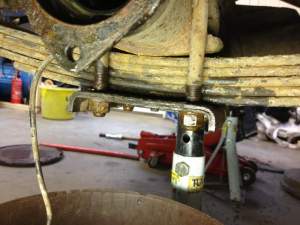
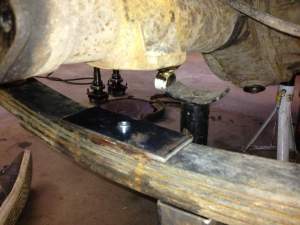
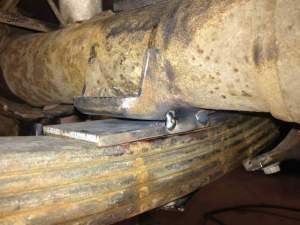
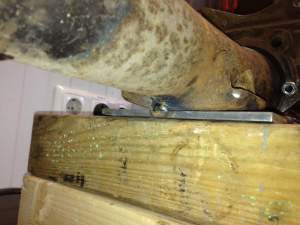
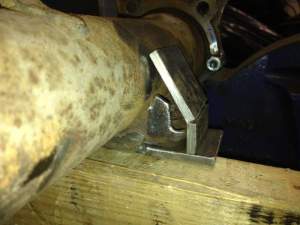
I placed a metal plate of 120x50x4mm on the spring (the spring which was fitted with a new higher centre bolt,so i still could centre the axle on the spring)
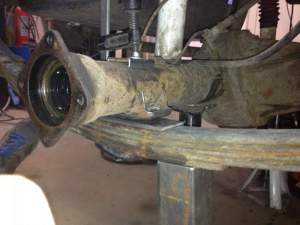
Sandwiched the metal plate between the axle and the springpack,the axle could centre on the spring since i replaced the centrebolt by a hexbolt
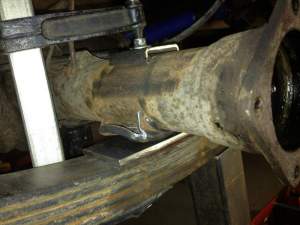
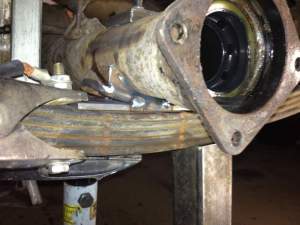
Caliper holder cut and placed on the axle.i used long nuts so is could get the bolts in later with just one tool. the long nuts will also be welded to the axle.
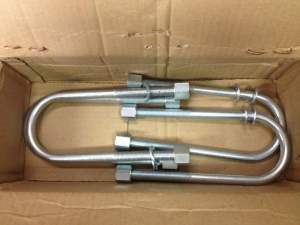
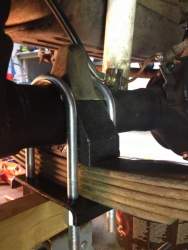
Got some new U-Bolts @ Custom Offroad
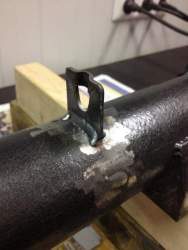
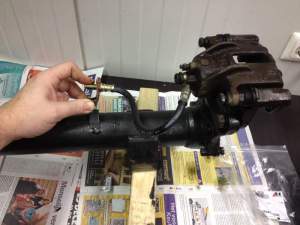
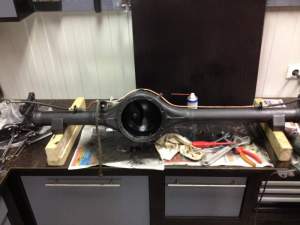
Axle back under the car,but i should have spend more time on were to put the brakeline holder tab,since the brake hose now sits between the bumpstop and the chassis. (So i replaced it later)
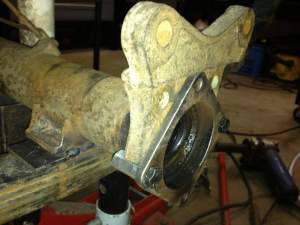
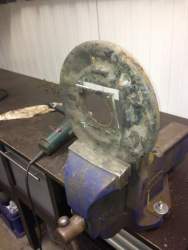
Cut out a plate out of the old drum backplate to use as a spacer between the axle and bearing holder
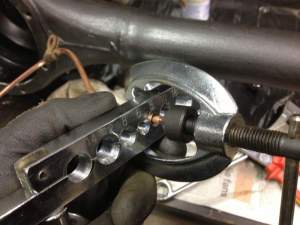
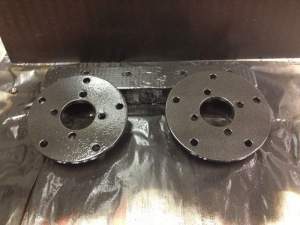
These are machined out of the old drumbrake's and will be used to mount the discs on,knock out the orginal studs and replace them with studs out of a front axle (these are longer)
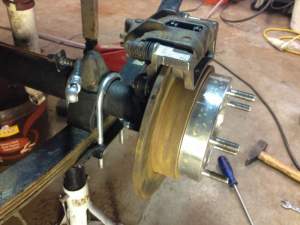
Disc,new brakepads and caliper installed, also a 40mm wheelspacer to keep the tyre's from touching the springs
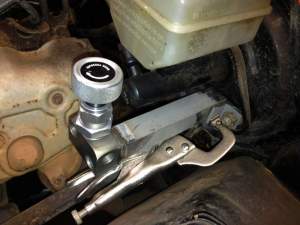
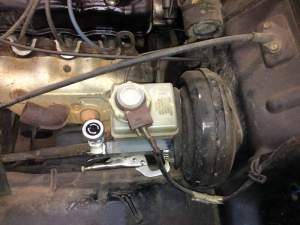
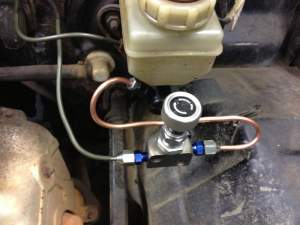
Next job, Fabricating a bracket to install the prop-valve on (prop-valve is used to reduce the presure to the rear brakes)
